If you are an admin and want to create a survey for other users (e.g. analysts or report viewers), you can follow these steps:

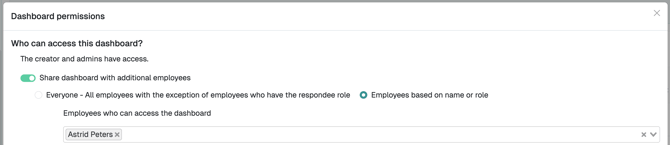
1. Update employee data Make sure your data is up to date and that all employees, who should be invited, are in the account. Then you will be able to select them in the distribution list. It helps if they all belong to one group, such as a department or team. 2. Create the survey and set notifications Create the survey as usual. In the “Notifications” step, you can configure that the manager is automatically informed once the survey is completed. Results notification EN 3. Grant access to the survey There are two ways to grant access to a survey: Option 1: Directly during survey creation In the final step of the survey creation process (“Permissions”), you can add specific users who should have access to the survey. Simply start typing the user’s name and select them from the suggestions to grant access. Survey permissions Option 2: Via the employee settings Go to Settings → Employees → “Access to specific surveys”. There, you can grant the respective user access to all data of this survey. Survey rights in MA Bereich 4. Select the distribution list In the distribution list, select the group or individuals, who should be invited to the survey. In the schedule, you can see exactly how many employees are included. Schedule EN 5. Create and share a dashboard Create a dashboard and grant access to the relevant user. It’s best to name it specifically so only that person has access. If the user has the “Analyst” role, they can also export the data themselves. Sharing DB with specific person 6. Activate the survey Once everything is set up, you can activate the survey.