

What is available in each field
The emails are therefore the only place in the survey flow where text can be styled. The survey itself doing less than the email is intentional. To learn how to edit the invitation email, see How do I customize the invitation E-Mail for my employees?
The survey itself has no bold and no colour
Neither the question text, nor a question’s description, nor the welcome or thank you message lets you make text bold, italic or coloured. Colouring individual passages is not available anywhere in the survey. You can set one colour account-wide — under Settings → Corporate identity in the Survey branding field — but it only colours buttons, the progress bar and the rating symbols (smileys and stars), not the body text. The one way to emphasise a passage applies to the description of a Single Select question: Style description like question title shows it in the size of the question title instead of in the smaller description size.Formatting you type in by hand does not work
Two things employees like to try lead nowhere in any of these fields:Asterisks do not create bold text. If you write
**bold**, your employees see exactly those characters, asterisks and all — not bold text. The same goes for other markdown characters. Only links and paragraphs are rendered from these fields.HTML in the text does nothing.
<b>bold</b> or <span style="color:red">red</span> are removed when you save; only the plain text remains.We advise against “bold-looking” special characters
There are generators online (such as Yaytext) that replace normal letters with bold- or italic-looking Unicode special characters. These characters are technically stored and displayed — but we advise against them for several reasons:- German umlauts and ß do not exist in these character sets. “für” then becomes a mix of pseudo-bold and normal letters.
- The survey uses one consistent font that does not contain these special characters. They visibly fall back to a different font and look out of place.
- Screen readers do not read these characters out as text — the survey becomes unintelligible for some of your employees.
- The characters carry over unchanged into dashboards and exports.
Add a description to a question
Add description lets you add an explanatory text that your employees see below the answer options during the survey. In the description you have links and paragraphs available; the small toolbar offers Add link and Remove formatting for this. On a Single Select question, the Style description like question title option also appears, which displays the text in the size of the question title.Welcome and thank you message
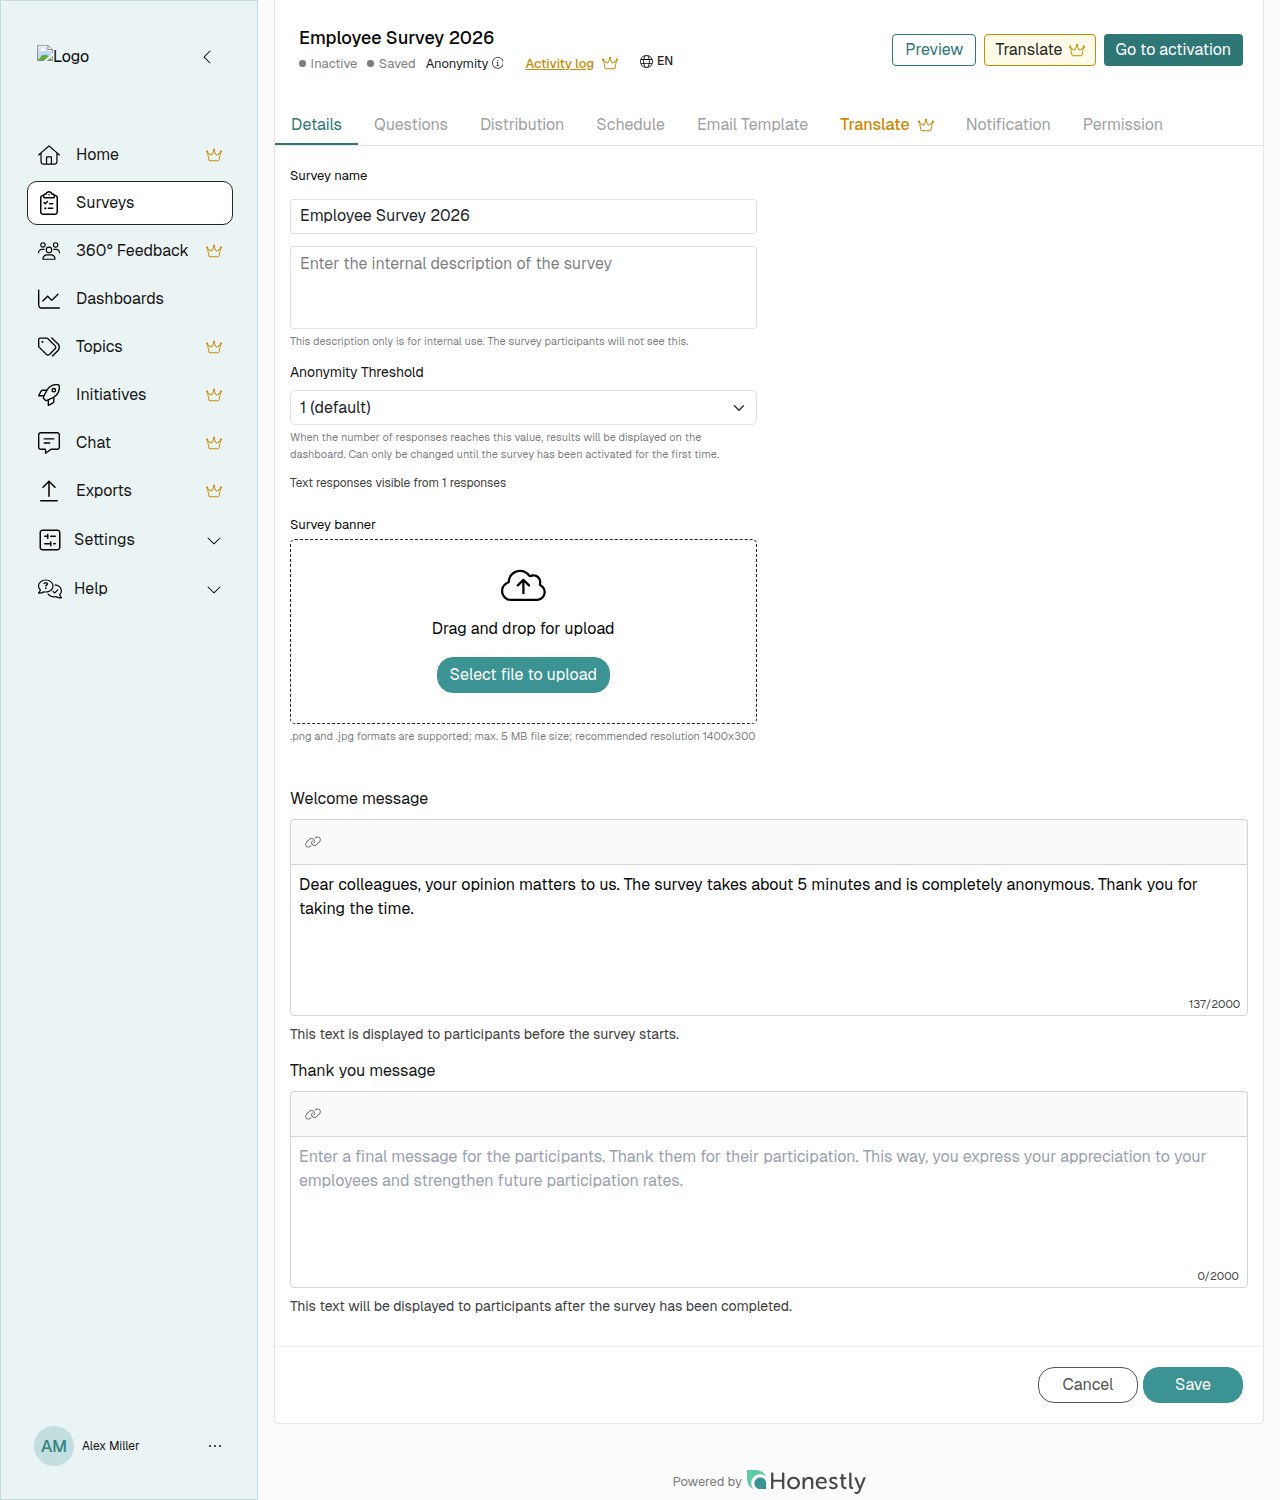
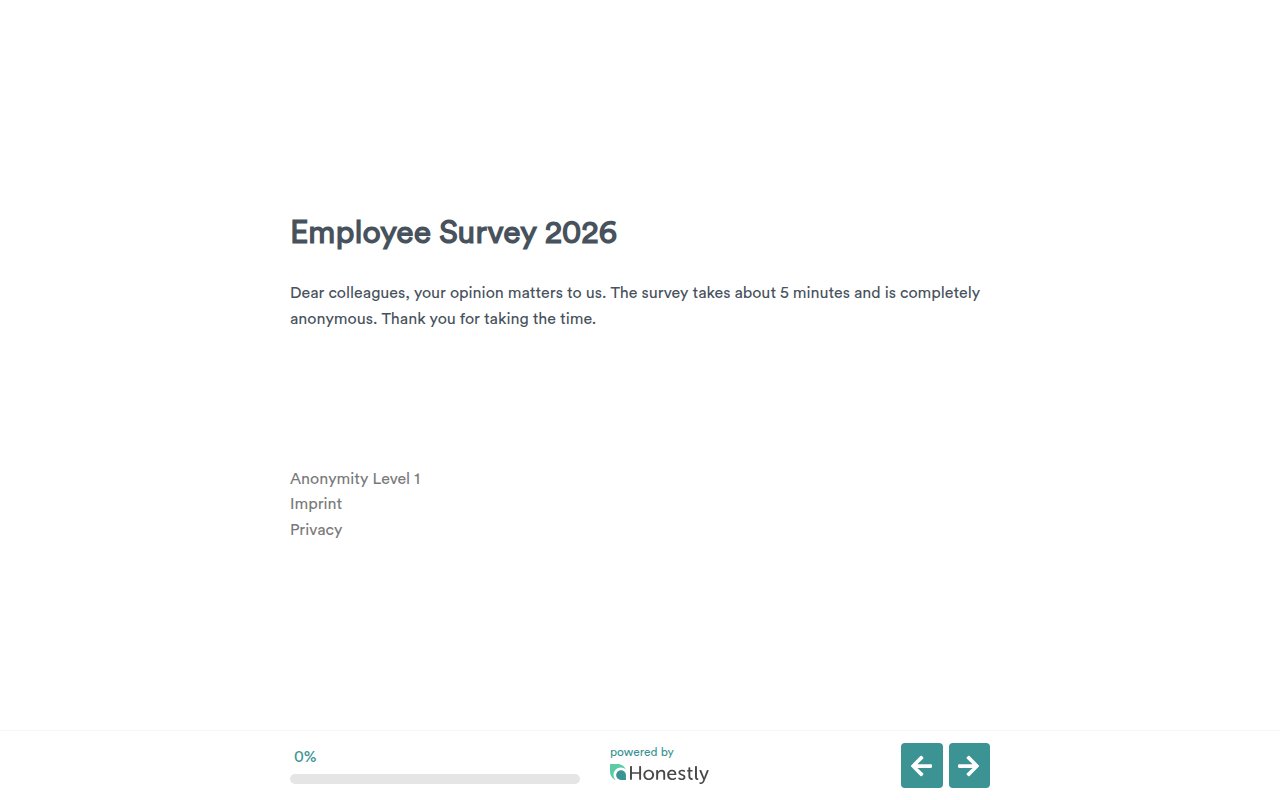
The welcome message and the thank you message frame your survey: one sets the scene for your employees, the other thanks them for taking part. You edit both on the Details tab of your survey. The Welcome message and Thank you message fields sit one below the other and are always visible — there is no button to switch them on first.- Welcome message — shown to participants before the survey starts. It creates an additional first page that acts as a cover page for the survey.
- Thank you message — shown to participants once they have completed the survey, and forms its last page.
If you paste formatted text from Word or a web page into either field, Honestly keeps only the plain text and any links it contains. The formatting is dropped.
Insert and remove links
You insert links the same way in the description, the welcome message and the thank you message. Select the text you want to turn into a link and click Add link in the toolbar. The Insert Link dialog opens:- Link Type — choose between URL, Email and Other. URL already prefixes
https://, Email prefixesmailto:. Use Other to enter a protocol of your own, such astel:. - Display text — the text that appears in the survey. Leave it empty to display the address itself.
- Test Link — opens the target in a new tab so you can check it before saving.
Character limit for the welcome and thank you message
The welcome message and the thank you message are each limited to 2,000 characters. A counter in the bottom-right corner of the field shows how many characters you have used, and once the limit is reached the field stops accepting input. A link counts with both its display text and its target address, so it takes up more characters than are visible in the survey.The thank you message and its default text
The thank you message is always present. If you leave the field empty, your employees see the default text “Thank you! Your feedback has been submitted.” As soon as you enter your own text, it replaces the default entirely.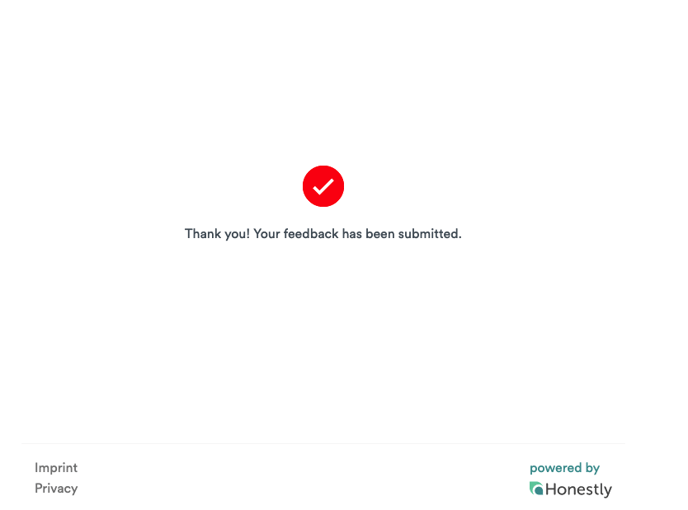
Translating your texts
If your survey is multilingual, all texts can be translated into every language of the survey. To learn how, see How do I translate my survey? These articles may also be of interest to you:- How do I create a new survey?
- How do I customize the invitation E-Mail for my employees?
- How do I translate my survey?