


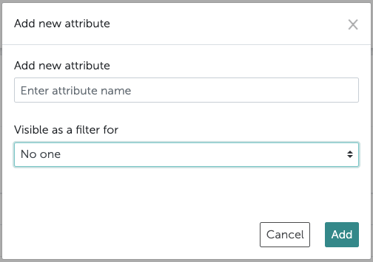
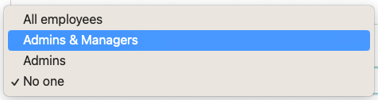
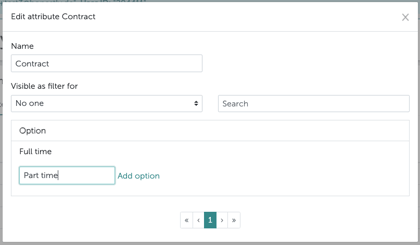
- You can edit both the attribute and option names, however, this will overwrite any old data, so if someone was in the “Sales” department in the past, and you rename that to “Sales & Marketing”, they will now only be visible there and “Sales” will no longer exist.
- Merging several attributes into one is not possible.
- Attributes and their options can be a maximum of 100 characters long.
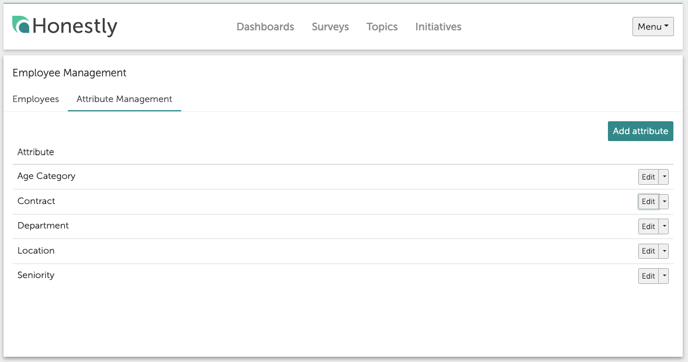
- As filters in the dashboards.
- As groups in the “Distribution” section of survey creation, enabling you to send the survey to specific groups only.
- As options in the “Branching” part of question creation, meaning that the question is only visible to this group/these groups of employees.
When do changed attributes apply to survey results?
When a survey period starts, Honestly records which attribute values each participant has at that moment. Every response from that period is evaluated with exactly that state, even if someone answers days later. If you change a person’s attributes while a period is running, for example because they moved to a different location, this means:- Their responses from the running period keep appearing under the old value, in the dashboard filter as well as in the charts.
- If the old group is too small for the anonymity threshold, it is combined with other small groups and then shows up as “Others (…)”, for example. How is the anonymity at Honestly ensured? explains how this works.
- The new assignment applies from the next survey period onwards. Periods that are already scheduled but have not started yet pick up the change automatically.
- Completed periods keep the state they had at the time.
An attribute value only appears in the dashboard filter as long as it still exists and responses with that value were received in the selected time range. An old group that still shows up after a reassignment therefore drops out of the filter as soon as you pick a time range without responses from the old assignment. The other way round, a group with no responses in the time range is missing from the filter entirely, even if employees are assigned to it by now.
Information shown next to names
When two employees share a name, a list gives you no way to tell them apart. Under Employees → Attribute Management, the Information shown next to names section controls what extra detail appears alongside the name. You can choose:- Email under From employee upload — the address is then shown in brackets after the name.
- Up to three of your attributes under Attributes — their values appear as a second line beneath the name.
- in the “Distribution” section of a survey, when putting together the recipients
- when granting permissions for a survey
If someone has no value for one of the selected attributes, only that part of the line is left out. The remaining values are still shown.