

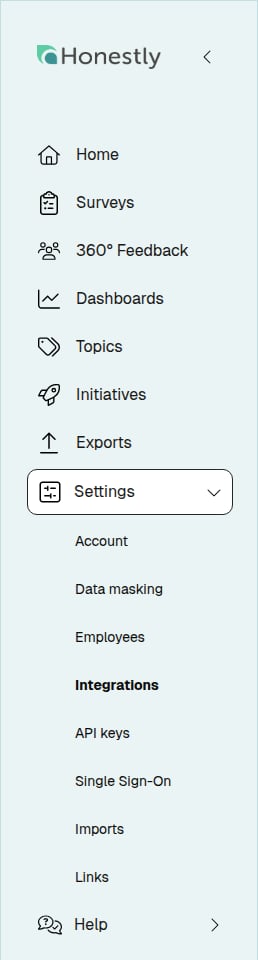
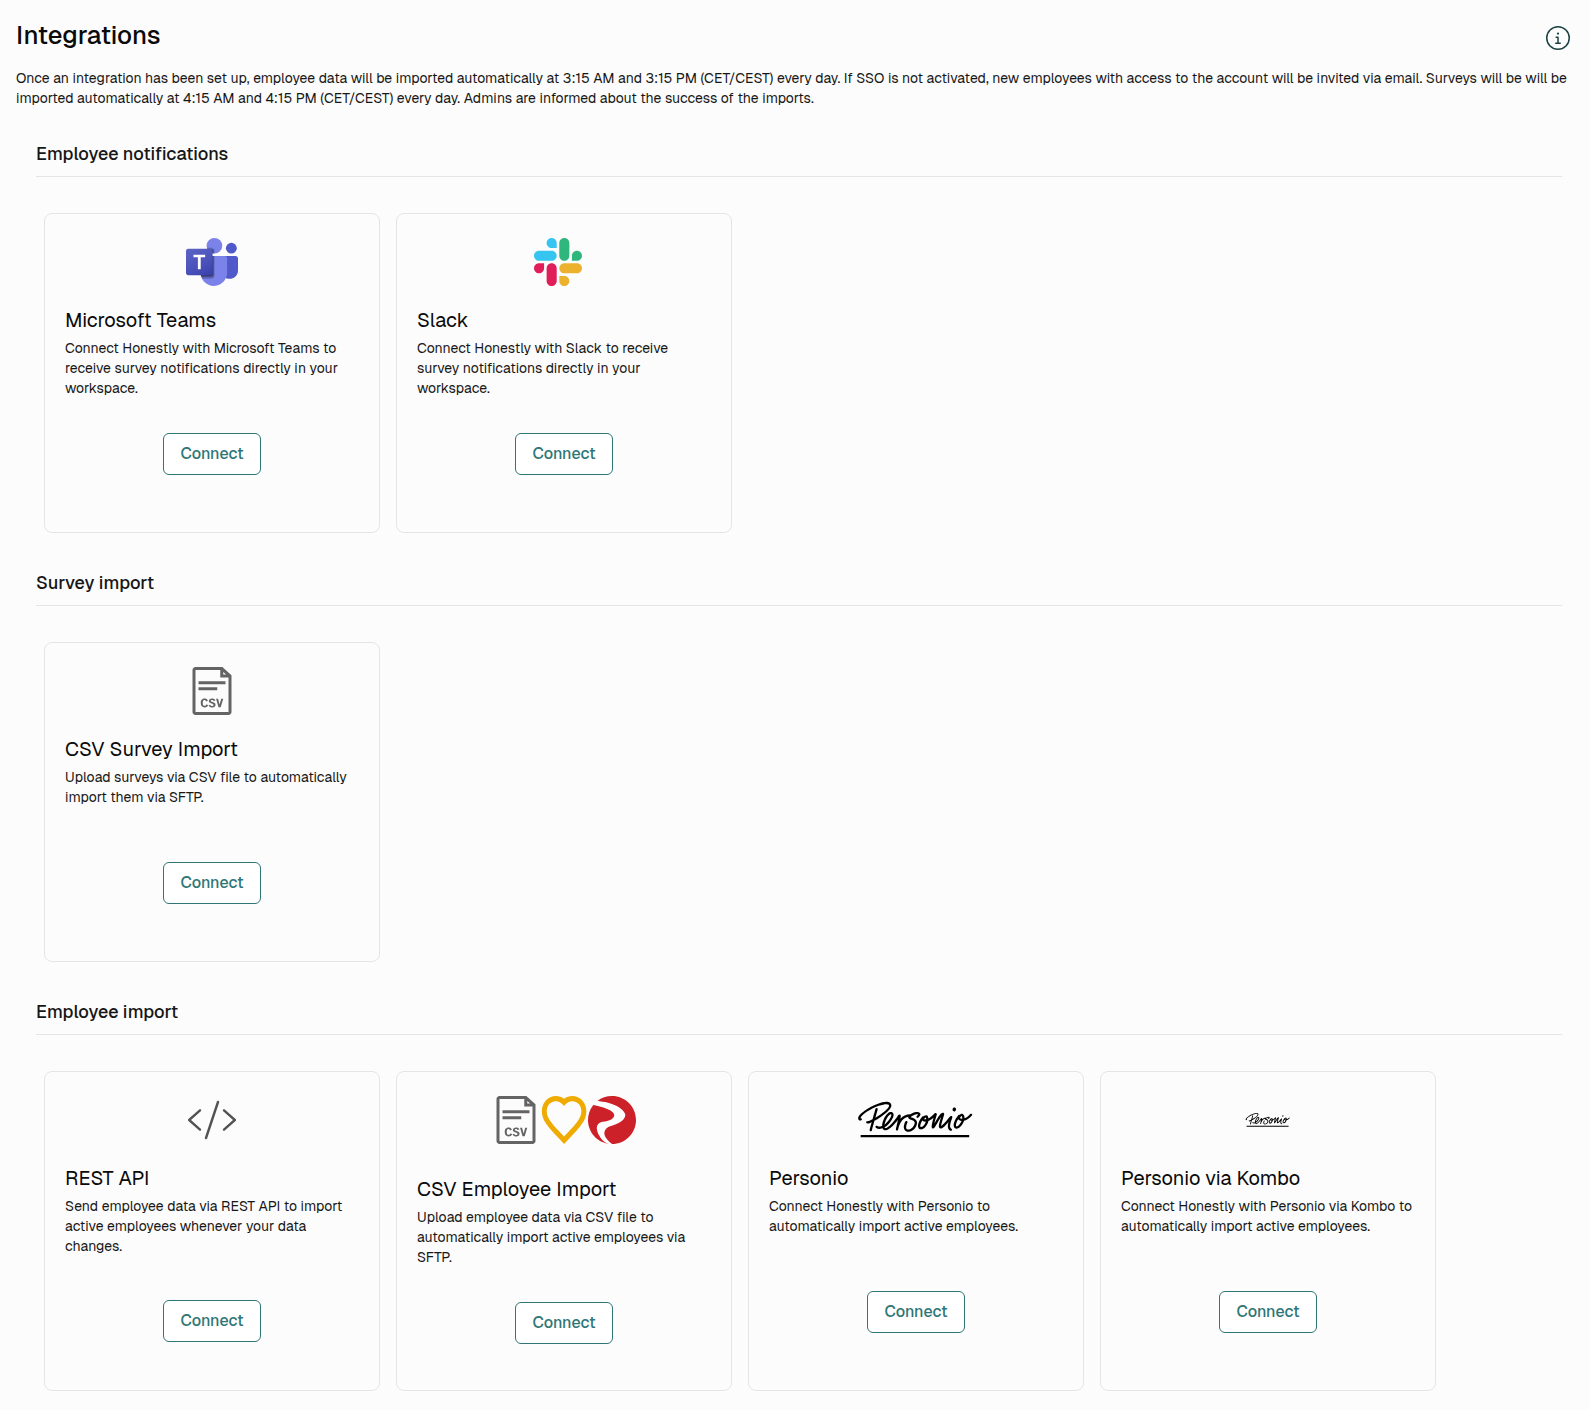
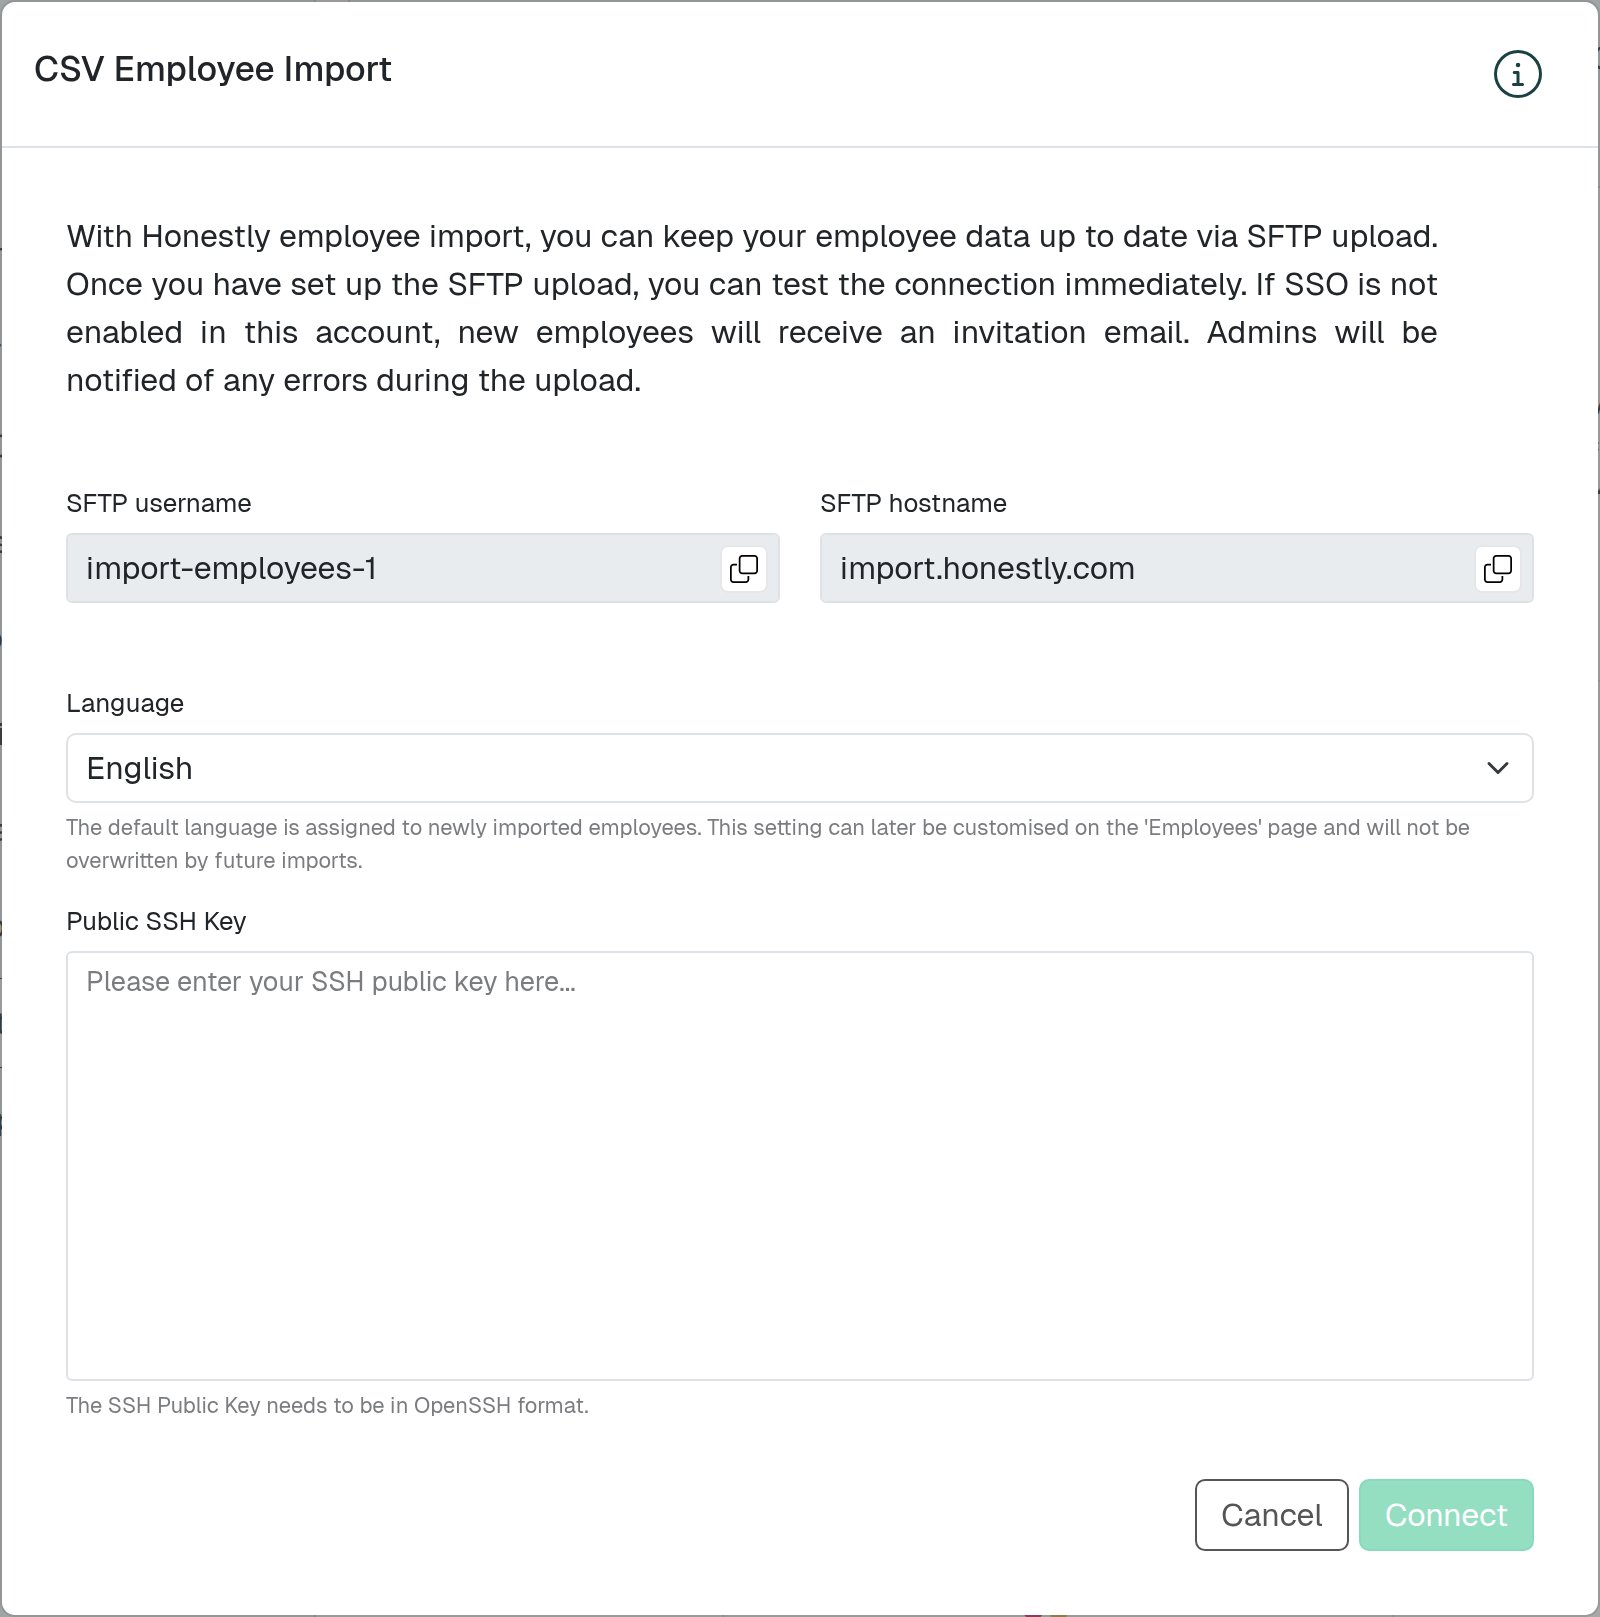
Upload the file to the upload folder
Once the connection has been established, transfer employees.csv to the Honestly server via SFTP. After you log in, the root directory/ contains only the upload folder. The root directory is read-only: the file has to go directly into the upload folder — not into the root directory and not into a subfolder.
Full target path: /upload/employees.csv
- WinSCP or another SFTP client: after logging in, open the
uploadfolder first, then drag the file into it. - Script or automated transfer, e.g. from SAP SuccessFactors: set the target path to
/upload/employees.csv.
If WinSCP reports “No such file or directory” and “Error code: 2” when uploading (some clients report “Permission denied” instead), the file was placed in the root directory instead of the
upload folder. Your connection and SSH key are working in that case. Upload the file again to /upload/employees.csv.Depending on the size of the file, this process may take a few hours.
Honestly Server
Hostname:import.honestly.com
Target folder: /upload/ (the root directory is read-only)
Target path: /upload/employees.csv
Authentication
Authentication works via passwordless authentication (ssh key authentication). You add the public key yourself in the CSV Employee Import window, so it never has to be sent to Honestly over an unsecured channel like email. Only the public key is entered; the private key stays with you. The public key needs to be in OpenSSH format. Accepted key types are ssh-rsa, ssh-ed25519, ecdsa-sha2-nistp256, ecdsa-sha2-nistp384, ecdsa-sha2-nistp521 and ssh-dss. Example public key file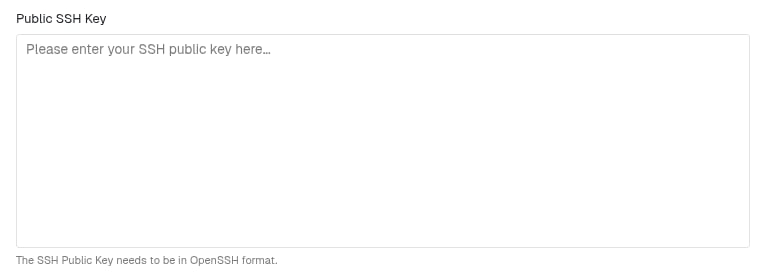
import-employees-<account-id>, where <account-id> is the ID of your Honestly account. Use it together with the private key belonging to the public key you entered to push the CSV file to the Honestly server.
CSV file
The file name needs to be “employees.csv ”. The file needs to be encoded with UTF-8 character set without any BOM. The data in the file itself needs to be separated by the comma character and surrounded by double-quotes. The column names need to be included in the CSV file in the first line. The order of the column names is irrelevant. Column headers are case-sensitive. Every column needs a header of at most 50 characters. Each header that is not one of the columns listed below is imported as an employee attribute, and an attribute name must be between 1 and 50 characters long. A header that is empty, consists only of spaces, or is longer than 50 characters therefore makes every row of the file fail with “Cannot create employee” or “Cannot update employee”.An empty column often comes from Excel: if a column to the right of your data ever held content or formatting, Excel saves it as well — with no header. To remove it, select the columns to the right of your last data column by clicking their column letters, right-click and choose Delete. Then save the file again via File → Save As as CSV UTF-8 (Comma delimited) (*.csv). Depending on your regional settings, Excel separates the values with semicolons instead of commas, so check the separator afterwards as well.
Required columns
The following columns need to be present in the CSV file and also all dataset must contain values for them.The ImportId of an employee cannot be adjusted over the Upload file.
Optional language
It’s recommended to also provide the language of the employee. If the language can not be provided, we can configure a default language.Optional additional employee attributes
Based on the configuration of employee attributes in the web application, additional employee data can be included to receive more detailed insights. Therefore, the CSV file needs to be extended with these additional columns in String data format. On the web application, the user can select which employee data should actually show up as a filter on the dashboard.Optional role & permission related columns
Employees have access to results based on their “reports to” relationship in addition to the permission on specific attribute values. ReportsToId or PermissionGroup and PermissionGroupValue can be blank.Possible roles
Example file with the attributes Department and Location
File name: employees.csv Content:Import mechanism
This file is imported twice a day, at 03:15 and 15:15 (CET/CEST). After a run that found a file, the import file is removed from the upload folder and moved into aprocessed/ subfolder carrying the timestamp of that run. The same file is therefore never imported twice — one upload gives you exactly one import.
Warning: If you choose the automatic upload, any changes made manually will be overwritten every 12 hours.
If there is no file, no changes will be made.
- Employees which are already in the system will be updated.
-
- Employees cannot be created more than once in an account and will only be updated if they appear several times in a file.
- Employees which are not in the system will be created
- Employees which are not in the file and have an ImportId set by a previous upload will be deleted.
/upload/ under exactly that name.
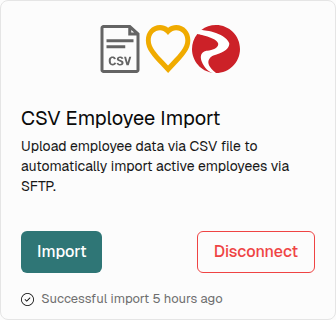
The same applies to the Import button: it triggers exactly the same process as the automatic run. With no file in the upload folder nothing happens, you get no feedback, and the timestamp stays unchanged as well.
General Import Errors
- Import cancelled because of errors while loading employees data from integration
- Employee with email EMAIL already exists with import id IMPORT_ID, and cannot be imported with id NEW_IMPORT_ID.
-
Cannot create employee with id “IMPORT_ID” and email “EMAIL”.
This covers errors while creating an employee that are not covered by the “Employee with email … already exists” error -
Cannot update employee with id “IMPORT_ID” and email “EMAIL”.
This covers system errors while trying to update an employee
"" means a column without a header. Also check that no header is longer than 50 characters. How to fix it is described under CSV file.
- Import: skip employee because email already exists EMAIL
-
Import cancelled:
There are ‘COUNT_CURRENT_EMPLOYEES’ employees in your account, and the update was going to delete ‘COUNT_DELETE_EMPLOYEES’ employees.
To prevent accidental deletion of too much data import is cancelled if it would delete more than MAX_ALLOWED_DELETED_PERCENTAGE 20% of employees.
In your account this means ‘MAX_ALLOWED_DELETED_ABSOLUTE_COUNT’ employees.
- Row number ROW_NUMBER in csv file is missing ImportId. Import is cancelled to prevent data corruption.
- Cannot read employee from csv file row number ROW_NUMBER. Ignoring bad employee record ImportId: IMPORT_ID
- Import file has bad/empty header
- Bad CSV
- No entries in file
- CSV header is missing mandatory field: MANDATORY_FIELD