
This video explains exactly how it is done:
To create a new survey, click on the "Surveys" tab at the top.
Next you can click on "Create new Survey".

This will open an editing window in which you can create your survey in 6 steps:
- Details
- Questions
- Distribution
- Schedule
- Email Settings
- Notification
You will be guided through the 6 steps.
In the first step ("Details") you first give your survey an individual name.
Then you have the possibility to add a description. This description will not be displayed to the survey participants, but only serves as clarification for internal purposes.

Furthermore, you have the option to define and customize the "Welcome message" and the "Thank you message".
Tip: The welcome message should ideally include the estimated duration of the survey (e.g., "Completing the questionnaire will take no more than 5-10 minutes") and information about anonymity (see our Help Center article on this topic).
You can freely add additional topics to the welcome message.
The thank-you message includes a text to say Thank-you at the end of the survey (e.g., "Thank you for taking the time to participate in our employee survey.").
Once you have entered all this information, click “Save”.
In the "Questions" section, you create the questions for your survey (this one is named Test Survey).
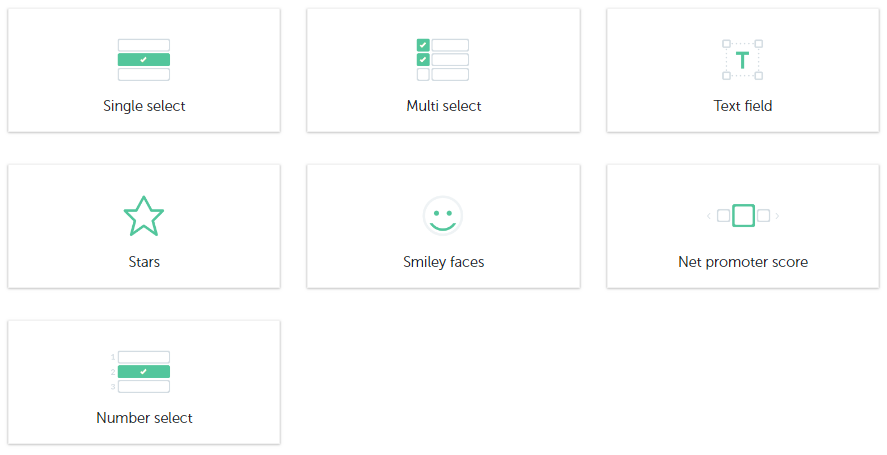
You choose between 7 types of questions:
- Single select
- Multi select
- Text field
- Five Stars
- Smiley
- Net promoter score
- Number select
Further information:
Read here to learn how you can use questionnaire templates, whether your own or those provided by us.
Adding questions – An explanation of the different question types:
Single select:

Single select questions are used when only one answer should be chosen from a list. The amount of possible answers is unlimited.
Multi select:

Multi select questions are used when it should be possible to choose several answers from a list. Again, the amount of possible answers is unlimited.
Text field:

Text field questions are used when an opinion is required and can be typed into this field.
Five Stars:

Questions with Stars enable easy rating using 1 star for the worst feedback and a maximum of 5 stars for the best feedback. It is not possible to change the amount of stars used.
Smiley:

In this type of question, you can choose how many smilies to use, anything between 2 and 6 is possible. Using the smilies, people can easily show how they feel about the topic. The description of each smiley can be entered individually.
Net promoter score:

NPS questions are used when you would like a rating from 0 to 10. These are mainly used when you would like to know how likely it is that people will recommend you. For example, “How likely is it that you would recommend us to your family/friends?”
Feedback is then classified in 3 categories:
0-6 = Detractors
7-8 = Passives
9-10 = Promoters
Number select:
These questions offer a variety of possible answers.
In the text fields, you can enter your corresponding response options and the defined scale can be seen on the left. The number of responses is unlimited.
Please note that your employees will only see the response options. The scale on the left is used to calculate the average and median and will not be seen.

Once you have chosen which type of question to use e.g. Smiley, it will appear on the left side.
Type your question in the field above the smilies. On the right, you can choose the number of smilies you would like to use for this question, anything between 2 and 6 is possible. Below each smiley is a box in which you can add a label.
Further information:
Read here to learn how to create branching for different question types.
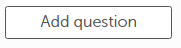
Click on “Add question” to continue creating the survey:
If you would like to make a question mandatory, just click on the button on the right of "Required" so it changes to green and is therefore selected. This means that it cannot be skipped and an answer is required in order to continue with the survey.

If you would like to use the same type of question again, either click on the “Duplicate” icon ![]() on the right or use a right mouse click to reveal the options:
on the right or use a right mouse click to reveal the options:
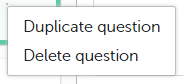
Then edit the question as appropriate.
If you would like to delete a question, either click on the "Delete" icon ![]() on the right or again use a right mouse click to reveal the options:
on the right or again use a right mouse click to reveal the options:
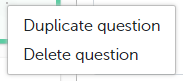
Or just delete using the backspace key.
To change the order of the questions, click on the question with your mouse, hold and move it to its new position.
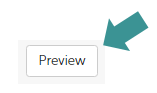
To preview your questionnaire and see how the questions will look, just click on "Preview" on the right.
Once you have finished creating all of the questions, click “Save”.
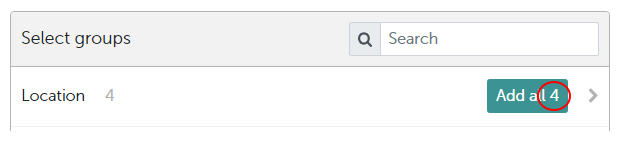
In the "Recipients" section, you choose who should take part in the survey. You can add either groups or individual employees.
In order to add whole groups, simply click on "Add all". The system will show you how many employees are in each group. In this example, there are 4:
If you would like more detailed information about a particular group, click on the black arrow on the right.

Now it is possible to select individual locations, departments etc. For example, "Frankfurt":

You will see exactly which groups have been selected in the "Recipient List" box:

In the “Schedule” section, you can firstly decide how often the survey should take place from the following possibilities:
- Doesn't repeat
- Weekly
- Bi-Weekly
- Monthly
and then choose the date and time.
Also decide whether people should be able to take part many times by ticking this box:

Once you have entered all the information, click on "Save".
For the other repetition periods, you still define when the survey is repeated.
You will receive the options Monday - Sunday and time options

Next we come to the "Email Template" and how to configure it:

The following topics can be adjusted in the email addressed to the employees:
- From name
- Subject
- Logo
- Mail Text
- Change color of survey Interface
Tip: After setting up the survey and email, it is recommended to test the survey. To do so, click on the "Send test email" button. If you press this button, only you will receive a test email and none of the other employees assigned to the survey.
Note: Test emails cannot be sent to other employees and can only be viewed by you, as you must be logged in to the system. Furthermore, you cannot send the poll, but only answer it up to the last question.

Reminders are additional reminders for the survey, which are sent by e-mail to those who have not yet participated in the survey. By default, a reminder is always set on a weekly basis in the system, but you can increase the repetition rate.
Once you have specified all settings, you can either "only" save them, in which case the survey is simply created, or you can activate it directly. To do this, click on "Go to activation" (top right):
To activate your survey now, click on "Go to activation " on the right. The following window will appear providing you with the exact timings of when your schedule will be sent as a notification to your employees:
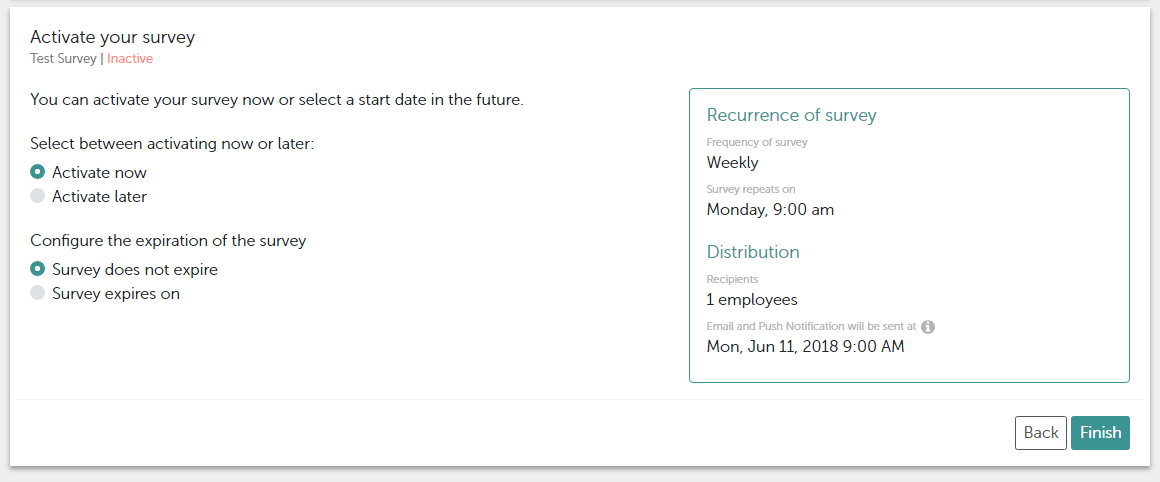
Either activate the survey immediately by choosing to "Activate now" on the left or choose a date from the calendar by clicking on "Activate later".
Also, choose whether the survey should have an end date or remain always open by clicking either "Survey does not expire" or choosing a date after clicking "Survey expires on".
When this is complete, save your changes by clicking “Finish”.